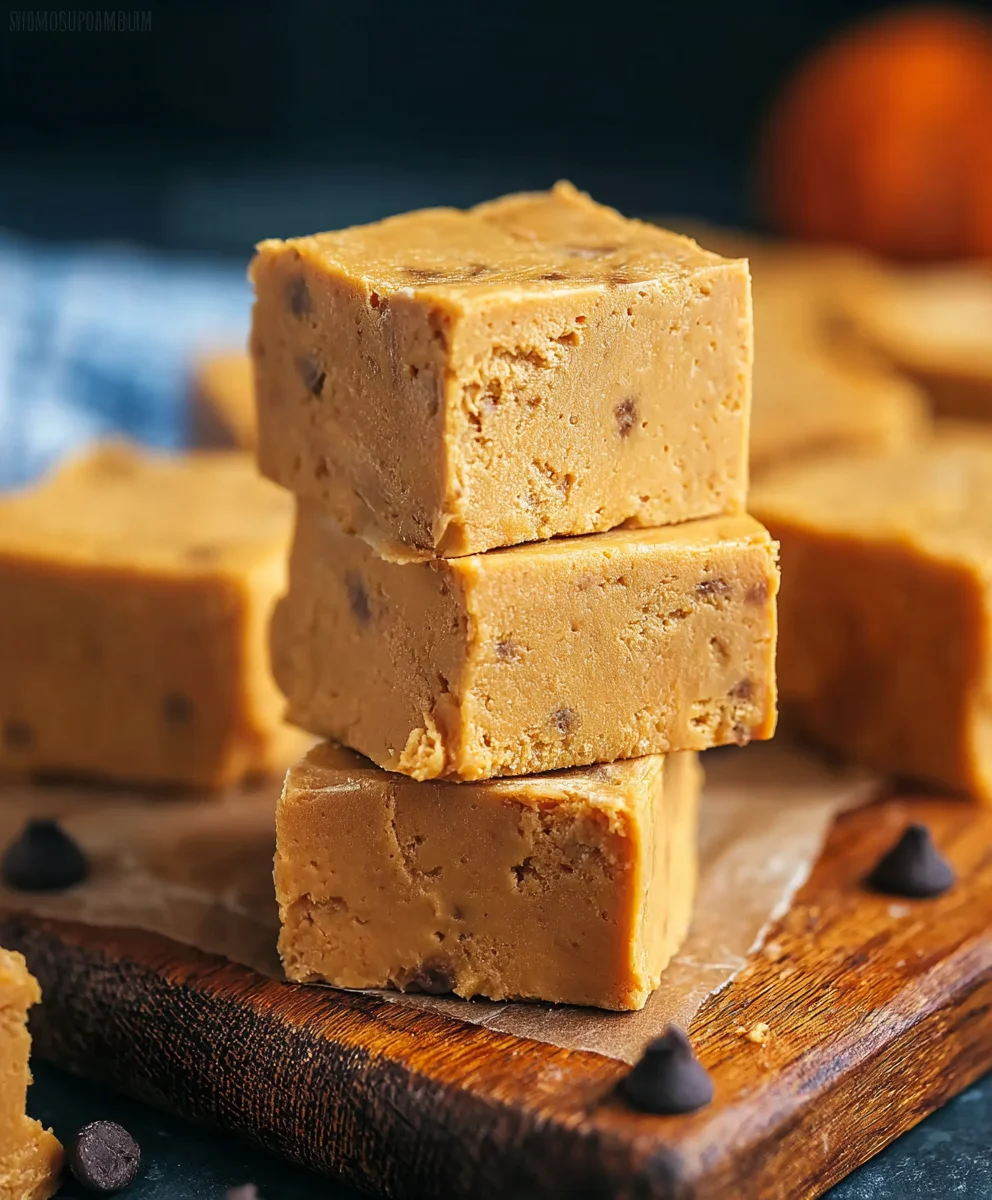
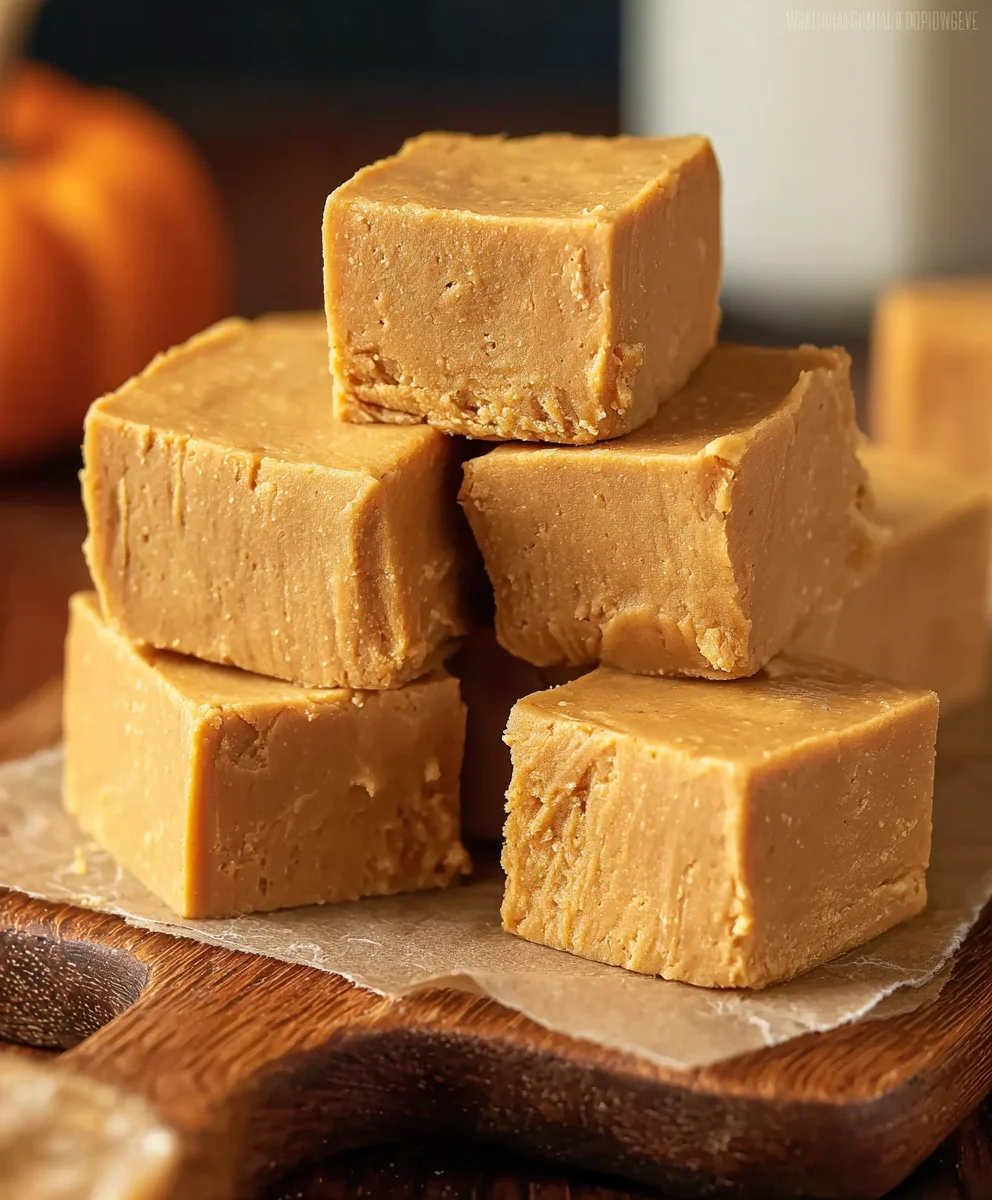
Easy Pumpkin Fudge Recipe – Creamy Fall Treat
Pumpkin Fudge, a velvety smooth, melt-in-your-mouth confection, is undoubtedly the star of autumn’s sweet offerings. There’s a reason why this delightful treat captures our hearts and taste buds year after year. It’s more than just a dessert; it’s a warm hug in edible form, reminiscent of cozy evenings, crackling fires, and the crisp air of fall. The rich, earthy sweetness of pumpkin, perfectly balanced with warm spices like cinnamon and nutmeg, creates an irresistible aroma that instantly transports you to a state of pure bliss. What truly makes our Pumpkin Fudge special is its delightful texture – it’s never grainy, always luxuriously creamy, and packed with that signature pumpkin flavor we all crave when the leaves begin extract to turn. Get ready to discover a recipe that’s surprisingly simple to make but delivers an extraordinary taste experience that will have everyone asking for seconds (and thirds!).
Ingredients:
- 2 cups granulated sugar
- 1 cup light brown sugar (packed)
- 3/4 cup unsalted butter
- 2/3 cup evaporated milk
- 1/2 cup canned pumpkin puree
- 1 teaspoon ground cinnamon
- 1/2 teaspoon nutmeg
- 12 oz white chocolate chips
- 7 oz marshmallow creme
- 1 teaspoon vanilla extract
Preparing Your Pumpkin Fudge Base
The first step in creating your delicious Pumpkin Fudge is to prepare your baking pan. I find that lining a 9×13 inch baking pan with parchment paper, leaving an overhang on the sides, makes for easy removal and clean-up later. You can also grease the pan thoroughly if you prefer, but the parchment paper is a game-changer.
Now, let’s get started on the fudge itself. In a large, heavy-bottomed saucepan over medium heat, combine the granulated sugar, packed light brown sugar, unsalted butter, and evaporated milk. Stir these ingredients constantly until the butter is completely melted and the sugars have dissolved. It’s important to use a heavy-bottomed saucepan here to prevent scorching, as the sugar mixture can become quite hot and prone to burning if the heat is too high or the pan is too thin. Keep stirring gently and consistently until you achieve a smooth, homogenous liquid.
Once the sugar mixture is smooth, increase the heat slightly to medium-high. Continue to stir the mixture, bringin extractg it to a rolling boil. A rolling boil is one that cannot be stirred down. Once it reaches this stage, clip a candy thermometer to the side of the saucepan, ensuring the tip is submerged in the liquid but not touching the bottom of the pan. Now, the crucial part: let the mixture boil without stirring until it reaches 238°F (114°C) on your candy thermometer. This temperature is known as the “soft-ball” stage, and it’s vital for achieving the perfect fudge consistency. This process can take anywhere from 8 to 12 minutes, depending on your stove and the exact heat. Patience is key here; resist the urge to stir, as this can disrupt the sugar crystallization process.
Incorporating the Pumpkin and Spices
Once your sugar mixture has reached 238°F (114°C), carefully remove the saucepan from the heat. Now it’s time to add the flavor! Immediately stir in the canned pumpkin puree, ground cinnamon, and nutmeg. Stir these in vigorously until they are thoroughly combined with the hot sugar mixture. You’ll notice the mixture might thicken slightly and take on a beautiful, warm color from the pumpkin and spices. Make sure there are no streaks of pumpkin or spice remaining.
Next, add the white chocolate chips and the marshmallow creme to the saucepan. This is where the magic happens for that wonderfully creamy texture. Stir continuously until both the white chocolate chips and the marshmallow creme are completely melted and incorporated. This will create a luxuriously smooth and slightly chewy fudge base. You’ll need to stir quite a bit to ensure everything melts evenly and becomes one cohesive mixture. Don’t rush this step; the goal is a perfectly smooth emulsion.
Finishing and Setting Your Pumpkin Fudge
As the last step in the mixing process, stir in the vanilla extract. This will add a wonderful depth of flavor and aroma to your Pumpkin Fudge. Give it one final, thorough stir to ensure the vanilla is distributed evenly throughout the mixture.
Now, working quickly before the fudge starts to set, pour the mixture into your prepared 9×13 inch baking pan. Use a spatula, preferably a heatproof silicone one, to spread the fudge evenly into the pan. Try to get the top as smooth as possible. You can gently tap the pan on the counter a couple of times to help settle the fudge and eliminate any large air bubbles.
Allow the fudge to cool completely at room temperature for at least 2 to 4 hours. Resist the temptation to refrigerate it, as this can sometimes lead to a chalky or too-hard texture. Once the fudge has cooled and set firm, use the parchment paper overhang to lift the entire slab out of the pan. Place it on a cutting board and cut it into small squares using a sharp knife. For the cleanest cuts, you can dip your knife in hot water and wipe it dry between cuts. Store your delicious Pumpkin Fudge in an airtight container at room temperature for up to a week. Enjoy every bite of this festive and comforting treat!
Conclusion:
I hope you’ve enjoyed diving into the sweet and comforting world of our Pumpkin Fudge recipe! This delightful treat is surprisingly simple to make and delivers all the warm, spiced flavors of fall in every bite. The creamy texture and rich pumpkin essence make it a perfect indulgence for any occasion, whether you’re hosting a holiday gathering or simply craving a homemade sweet. Don’t hesitate to experiment with this recipe; it’s quite forgiving and opens up a world of delicious possibilities.
For serving, this Pumpkin Fudge is fantastic on its own as a dessert or alongside a steaming mug of apple cider or hot chocolate. It also makes a wonderful addition to a cookie platter or a thoughtful homemade gift. Feel free to sprinkle some extra cinnamon or a pinch of nutmeg on top before it sets for an added aromatic flourish.
When it comes to variations, consider adding a handful of chopped pecans or walnuts for a delightful crunch, or even a tablespoon of dark chocolate chips for a chocolate-pumpkin fusion. A swirl of cream cheese frosting on top before it cools can also elevate this fudge to a whole new level of decadence. I encourage you to try this recipe and share the joy of homemade Pumpkin Fudge with your loved ones. Happy baking!
Frequently Asked Questions:
Q: How should I store my Pumpkin Fudge?
A: Once cooled and set, your Pumpkin Fudge can be stored in an airtight container at room temperature for up to a week. For longer storage, you can keep it in the refrigerator, although it may slightly alter the texture. It also freezes beautifully; wrap it tightly in plastic wrap and then aluminum foil, and it can last for up to two months.
Q: Can I make Pumpkin Fudge without condensed milk?
A: While condensed milk is key for the creamy, smooth texture of traditional fudge, it is possible to adapt this Pumpkin Fudge recipe. You would typically need to rely on other ingredients like butter, sugar, and potentially evaporated milk or heavy cream cooked down to a thicker consistency. However, this will significantly alter the cooking process and the final texture of the fudge.
Q: My Pumpkin Fudge didn’t set properly. What went wrong?
A: Several factors can contribute to fudge not setting. Ensure you reached the correct temperature if using a candy thermometer (around 234-238°F or 112-114°C). Over-stirring after removing from heat or adding ingredients too quickly can also affect setting. Make sure your ingredients are fresh, especially the butter and pumpkin puree, as moisture content can play a role. Sometimes, a cooler kitchen environment helps it set more firmly.
Easy Pumpkin Fudge Recipe – Creamy Fall Treat
A simple and delicious recipe for creamy pumpkin fudge, perfect for a fall treat. This fudge is rich, flavorful, and easy to make.
Ingredients
-
2 cups granulated sugar
-
1 cup light brown sugar, packed
-
3/4 cup unsalted butter
-
2/3 cup evaporated milk
-
1/2 cup canned pumpkin puree
-
1 teaspoon ground cinnamon
-
1/2 teaspoon nutmeg
-
12 oz white chocolate chips
-
7 oz marshmallow creme
-
1 teaspoon vanilla extract
Instructions
-
Step 1
Prepare a 9×13 inch baking pan by lining it with parchment paper, leaving an overhang on the sides for easy removal. Alternatively, grease the pan thoroughly. -
Step 2
In a large, heavy-bottomed saucepan over medium heat, combine granulated sugar, packed light brown sugar, unsalted butter, and evaporated milk. Stir constantly until the butter is melted and sugars are dissolved. Use a heavy-bottomed pan to prevent scorching. -
Step 3
Increase heat to medium-high and bring the mixture to a rolling boil. Clip a candy thermometer to the side of the pan, ensuring the tip is submerged. Boil without stirring until the mixture reaches 238°F (114°C), the soft-ball stage. This may take 8-12 minutes. -
Step 4
Once the sugar mixture reaches 238°F, remove from heat. Immediately stir in the canned pumpkin puree, ground cinnamon, and nutmeg until thoroughly combined and the mixture has a warm color. -
Step 5
Add the white chocolate chips and marshmallow creme to the saucepan. Stir continuously until both are completely melted and incorporated, creating a smooth and creamy fudge base. -
Step 6
Stir in the vanilla extract for added flavor. Give the mixture one final thorough stir. -
Step 7
Working quickly, pour the fudge mixture into the prepared baking pan and spread evenly with a spatula. Gently tap the pan on the counter to settle the fudge and remove air bubbles. -
Step 8
Allow the fudge to cool completely at room temperature for 2 to 4 hours. Once set, use the parchment paper to lift the fudge from the pan, cut into squares, and store in an airtight container at room temperature for up to a week.
Important Information
Nutrition Facts (Per Serving)
It is important to consider this information as approximate and not to use it as definitive health advice.
Allergy Information
Please check ingredients for potential allergens and consult a health professional if in doubt.