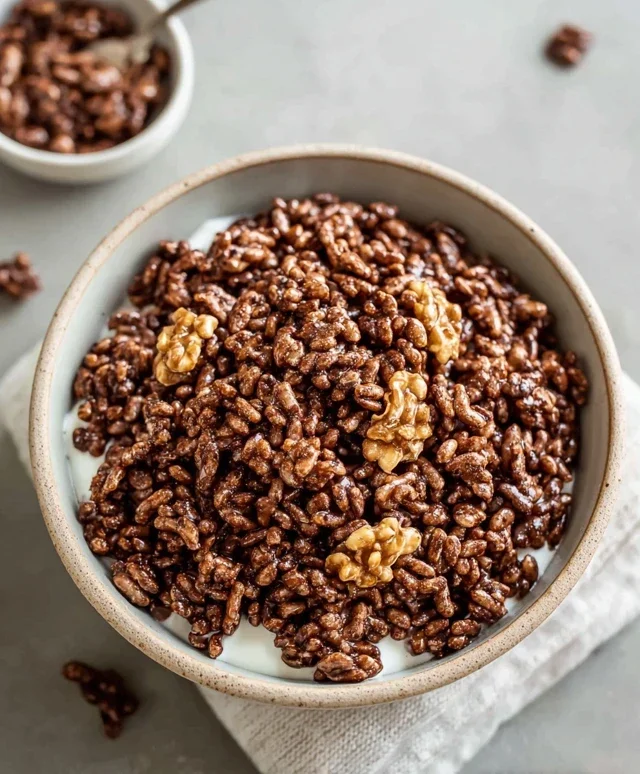
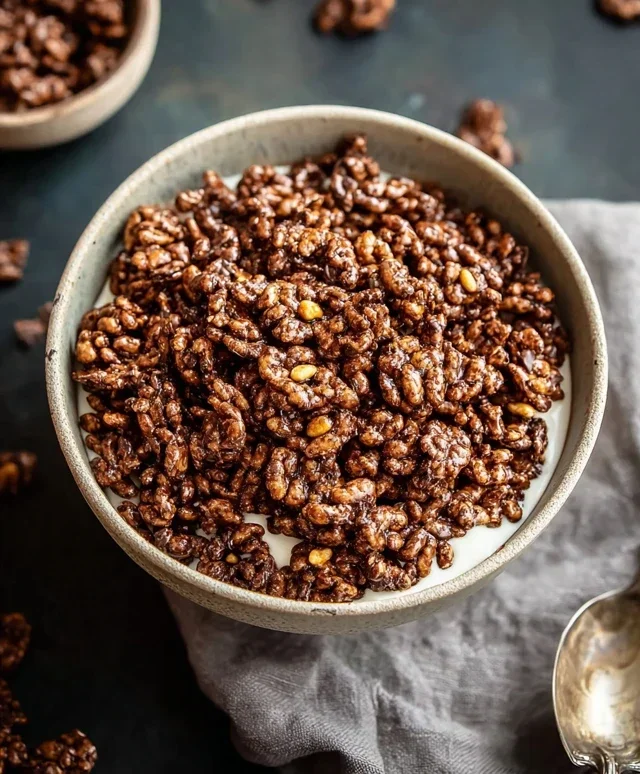
Easy Cereal Bars- Quick No-Bake Treat
Cereal bars are more than just a quick breakfast or an on-the-go snack; they’re a nostalgic hug in edible form. Remember those childhood mornings, the clatter of spoons against bowls, and the sweet crunch of your favorite cereal? These homemade cereal bars capture that same comforting magic, but with a grown-up twist and the added benefit of knowing exactly what’s going into them. What makes them so universally loved? It’s the perfect balance of textures – chewy, crunchy, sweet – and the sheer versatility. Whether you’re craving a classic, chocolate-infused delight or something more adventurous with dried fruits and nuts, these cereal bars are your delicious canvas. They’re incredibly easy to whip up, making them ideal for busy weekdays, school lunchboxes, or even a post-workout refuel. Get ready to rediscover the joy of this beloved treat!
Homemade Cereal Bars: Your New Favorite Snack!
Forget those pre-packaged snacks filled with unpronounceable ingredients. Today, we’re diving into the wonderfully simple and incredibly satisfying world of homemade cereal bars. These are a fantastic way to repurpose your favorite cereals and create a quick, healthy, and customizable snack that’s perfect for breakfast on the go, an afternoon pick-me-up, or even a pre-workout boost. The beauty of these bars lies in their versatility; you can mix and match cereals, nut butters, and sweeteners to create endless flavor combinations. Plus, they come together in a matter of minutes, with most of the “cooking” time spent chilling them into perfect, firm bars. Let’s get started!
Ingredients:
Crafting Your Cereal Bars
This recipe is designed to be incredibly adaptable, so feel free to get creative with your cereal choices! Whether you love the crunch of puffed rice, the wholesome goodness of bran flakes, or the sweet satisfaction of a fruity-flavored cereal, they all work beautifully here. The nut butter provides a rich, binding base, while the sweetener holds everything together and adds a touch of sweetness. The optional salt can enhance the flavors, especially if your nut butter is unsalted, and the protein powder is a great way to boost the nutritional content, making these bars even more of a powerhouse snack.
Preparation and Mixing
The first step is to prepare your ingredients and create the sticky, glorious mixture that will form the base of our bars.
Prepare your pan: Before you even start mixing, grab an 8×8 inch baking pan. Line it with parchment paper, ensuring there’s an overhang on the sides. This overhang will act as handles, making it super easy to lift the entire block of cereal bars out of the pan once they’re set. This is a crucial step for effortless removal later on. Make sure the parchment paper is smoothed out so your bars have a nice, flat bottom.
Combine the wet ingredients: In a medium saucepan, combine your chosen sweetener (agave, honey, or brown rice syrup) with the peanut butter or nut butter of your choice. If you’re using the optional salt, add it now as well. Place this saucepan over low heat. Stir constantly, gently coaxing the nut butter and sweetener to meld together into a smooth, pourable mixture. You want it to be warm enough to combine easily, but not so hot that it starts to scorch or boil. This gentle warming process will ensure a homogenous mixture that coats the cereal evenly. If your nut butter is particularly stiff, a slightly longer warming period might be needed, but always keep the heat very low.
Incorporate the dry ingredients: Once your wet ingredients are smooth and well combined, remove the saucepan from the heat. Now, it’s time to add your cereal. Pour the 3 cups of your chosen cereal directly into the warm nut butter and sweetener mixture. If you’re adding the optional protein powder, sprinkle it in now too. Gently, but thoroughly, fold the cereal into the wet mixture. You want to ensure every piece of cereal is coated in the sticky goodness. Use a spatula or a sturdy spoon to do this, being careful not to crush the cereal too much. The goal is a beautifully coated, slightly clumpy mass that’s ready to be pressed into your pan. This coating is what will hold your bars together.
Press the mixture into the pan: Carefully transfer the coated cereal mixture into your prepared 8×8 inch baking pan. Now comes the crucial part: pressing it down firmly and evenly. You can use the back of a spatula, a flat-bottomed glass, or even lightly damp hands to press the mixture down. The firmer you press, the more compact and sturdy your bars will be, meaning less crum extractbling when you cut them. Make sure the surface is as flat and even as possible. This will result in uniform bars that look as good as they taste. Take your time here; a well-pressed base is key to perfectly formed bars.
Chill until firm: Once the mixture is pressed smoothly into the pan, cover it tightly with plastic wrap or foil. Place the pan in the refrigerator for at least 2-3 hours, or until the bars are completely firm and set. The chilling process allows the nut butter and sweetener to solidify, binding all the cereal together. The longer they chill, the firmer they’ll become. For a quicker set, you can also place the pan in the freezer for about 30-60 minutes, but be sure to monitor them so they don’t freeze solid. The goal is for them to be firm enough to cut cleanly.
Cutting and Enjoying
After the chilling period, your cereal bars should be wonderfully firm and ready for their final transformation.
Cut into bars: Once the cereal mixture is thoroughly chilled and firm, use the parchment paper overhangs to carefully lift the entire block out of the pan and onto a clean cutting board. Now, using a sharp knife, cut the block into your desired bar size. You can aim for classic granola bar shapes, smaller snack bites, or even larger dessert bars. A clean, sharp knife is essential for making neat cuts without too much crum extractbling. If the mixture feels very hard, let it sit at room temperature for a few minutes before cutting.
Storage: Store your homemade cereal bars in an airtight container at room temperature for up to a week. If your kitchen is particularly warm, or if you’ve used a highly perishable ingredient, you might want to store them in the refrigerator to maintain their firmness. They also freeze beautifully, making them an excellent option for making ahead and having on hand whenever a craving strikes. Simply wrap individual bars or stacks of bars in plastic wrap or foil, then place them in a freezer-safe bag or container.
Enjoy your delicious, homemade cereal bars! They are a testament to how simple, wholesome ingredients can create something truly special.
Conclusion:
So there you have it! This cereal bar recipe is an absolute winner for so many reasons. It’s incredibly easy to whip up, making it perfect for busy weeknights or a fun weekend baking project with the kids. The customizable nature means you can tailor these delicious treats to your exact cravings, from the type of cereal you use to the mix-ins you choose. Plus, they’re a fantastic way to use up leftover cereal and satisfy that sweet tooth without resorting to more processed options. These bars are truly a versatile snack or breakfast solution.
Enjoy these delightful cereal bars as a grab-and-go breakfast, a satisfying afternoon snack, or even a post-workout treat. They pair wonderfully with a glass of milk or a cup of coffee. Don’t be afraid to get creative with your variations! Try adding dried fruits like cranberries or raisins, nuts like almonds or walnuts for extra crunch, or even chocolate chips for a decadent touch. You could also experiment with different binders like honey, maple syrup, or even a touch of nut butter. I truly encourage you to give this recipe a try; you won’t regret it!
Frequently Asked Questions:
Can I make these cereal bars vegan?
Absolutely! To make these vegan, simply ensure your cereal is dairy-free and use a plant-based binder like maple syrup or agave nectar instead of honey. You can also use vegan butter if your recipe calls for it.
How should I store my cereal bars?
Store your cereal bars in an airtight container at room temperature for up to 3-4 days. For longer storage, you can refrigerate them for up to a week, or even freeze them for a month or two. Let them come to room temperature before serving if frozen.
What’s the best way to get clean cuts on my cereal bars?
For the cleanest cuts, allow the cereal bars to cool completely before slicing. Using a sharp, non-serrated knife and pressing straight down can also help prevent crum extractbling and ensure neat portions.
Cereal Bars
Easy and customizable cereal bars made with your favorite cereal, nut butter, and sweetener.
Ingredients
-
3 cups cereal of choice
-
2/3 cup peanut butter or nut butter of choice
-
1/2 cup agave, honey, or brown rice syrup
-
1/2 tsp salt (optional)
-
3 tbsp protein powder (optional)
-
1 tsp vanilla extract
Instructions
-
Step 1
Line an 8×8 inch baking pan with parchment paper, leaving some overhang for easy removal. -
Step 2
In a large bowl, combine the cereal of choice. -
Step 3
In a separate microwave-safe bowl, gently warm the peanut butter or nut butter, agave, honey, or brown rice syrup, and salt (if using) until smooth and pourable. Stir in vanilla extract and protein powder (if using). -
Step 4
Pour the wet ingredients over the cereal and mix well until all cereal pieces are coated. -
Step 5
Transfer the mixture to the prepared baking pan and press down firmly and evenly. -
Step 6
Refrigerate for at least 30 minutes, or until firm. -
Step 7
Lift the bars out of the pan using the parchment paper and cut into desired bar shapes.
Important Information
Nutrition Facts (Per Serving)
It is important to consider this information as approximate and not to use it as definitive health advice.
Allergy Information
Please check ingredients for potential allergens and consult a health professional if in doubt.