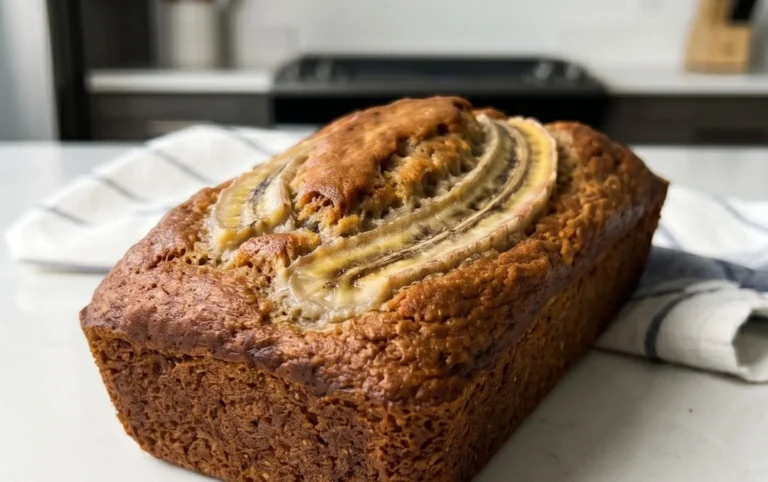
Best Banana Bread Recipe- Moist & Easy
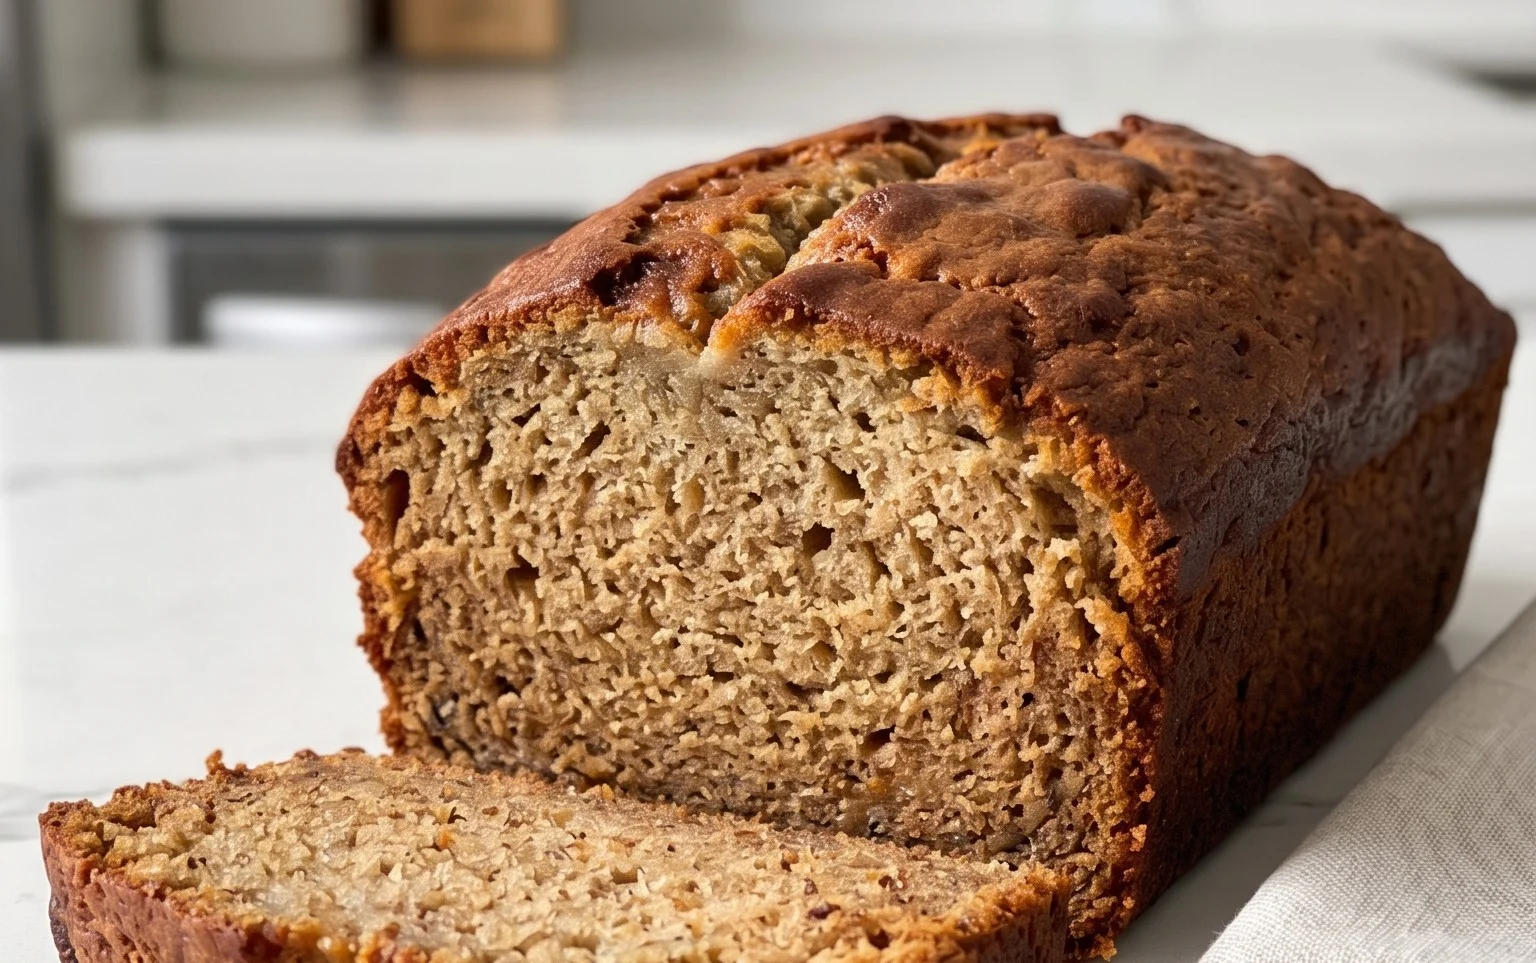
The Best Banana Bread Recipe is a culinary cornerstone, a comforting classic that evokes warmth and nostalgia with every single slice. For me, and I suspect for many of you, banana bread isn’t just a dessert; it’s a hug in loaf form. It’s the perfect way to salvage those overripe bananas languishing on the counter, transforming them into something truly magical. What makes this particular Best Banana Bread Recipe so beloved? It’s that unbeatable combination of moist crum extractb, tender texture, and a deeply caramelized banana flavor that sings through every bite. It’s the kind of recipe you can whip up on a lazy Sunday morning and have ready for an afternoon treat, or even present to guests knowing it will be met with delighted smiles. It’s simple, satisfying, and utterly delicious.
The Best Banana Bread Recipe
There are few things as comforting and universally loved as a slice of warm, moist banana bread. It’s the perfect treat for breakfast, a snack, or even dessert. Over the years, I’ve tried countless recipes, tweaked ingredients, and experimented with techniques, all in pursuit of that elusive, perfect loaf. Today, I’m thrilled to share what I believe is the ultimate banana bread recipe – one that consistently delivers a tender crum extractb, a rich banana flavor, and just the right amount of sweetness. This recipe is remarkably forgiving, making it ideal for bakers of all skill levels. The secret lies in using ripe, even overripe, bananas which contribute moisture and intense sweetness, and a few simple techniques that elevate this classic to something truly special.
Ingredients:
Getting Started: The Foundation of Flavor
The first step in creating any great baked good is to preheat your oven and prepare your baking vessel. This ensures that your banana bread bakes evenly from the moment it enters the oven, preventing a soggy bottom or an undercooked center.
1. Preheat and Prepare: Begin extract by preheating your oven to 350 degrees Fahrenheit (175 degrees Celsius). While the oven is warming up, grease and flour a standard 9×5 inch loaf pan. You can do this by rubbing butter or non-stick cooking spray all over the inside of the pan, making sure to get into all the corners. Then, sprinkle in a tablespoon or two of all-purpose flour and tilt and tap the pan until the flour coats the entire greased surface. Tap out any excess flour. This creates a non-stick barrier that will help your banana bread release cleanly after baking, preventing those frustrating stuck pieces. For an extra layer of insurance and a potentially prettier presentation, you can also line the bottom of the pan with parchment paper, leaving an overhang on the sides to easily lift the bread out later.
2. Creaming the Butter and Sugar: In a large mixing bowl, cream together the softened unsalted butter and granulated sugar. Use an electric mixer (handheld or stand mixer) on medium speed, or a sturdy whisk and some elbow grease, until the mixture is light and fluffy. This process, known as creaming, incorporates air into the butter and sugar, which contributes to the tender texture of the finished bread. You’ll notice the color will lighten considerably, and the texture will become almost cloud-like. This usually takes about 3-5 minutes of consistent mixing. Don’t rush this step; it’s crucial for a good rise and a fine crum extractb.
3. Incorporating the Eggs and Vanilla: Add the two large eggs to the creamed butter and sugar mixture, one at a time. Beat well after each addition until fully incorporated. Scrape down the sides of the bowl with a spatula to ensure everything is well combined. Next, stir in the vanilla extract. The vanilla not only adds a delightful aroma but also enhances the overall flavor profile of the banana bread, complementing the sweetness of the bananas and sugar beautifully.
4. Whisking the Dry Ingredients: In a separate medium bowl, whisk together the all-purpose flour, baking soda, and salt. Whisking these dry ingredients together before adding them to the wet ingredients ensures that the leavening agent (baking soda) and salt are evenly distributed throughout the flour. This is essential for consistent rising and flavor distribution in your banana bread. If the baking soda isn’t dispersed evenly, you might get pockets of a bitter, soapy taste, or uneven browning.
5. Combining Wet and Dry, and Adding the Bananas: Now, gradually add the dry ingredients to the wet ingredients, mixing on low speed or by hand until just combined. Be careful not to overmix at this stage. Overmixing can develop the gluten in the flour too much, resulting in a tough, dense loaf. It’s perfectly acceptable and even desirable to have a few small lumps remaining in the batter. Finally, gently fold in the mashed bananas. Use a spatula or a wooden spoon for this step. Ensure the mashed bananas are well distributed throughout the batter, but again, avoid vigorous mixing. The riper your bananas, the easier they will be to mash and the more intensely they will flavor your bread. You want them to be truly mushy, with no large chunks remaining. The natural sugars in overripe bananas caramelize during baking, adding depth and moisture.
Baking Your Masterpiece
Once your batter is ready, it’s time to get it into the oven and transform it into that irresistible loaf.
6. Baking to Golden Perfection: Pour the batter into your prepared loaf pan and spread it evenly. Place the pan in the preheated oven. Bake for 50-65 minutes. The baking time can vary depending on your oven and the moisture content of your bananas. To check for doneness, insert a toothpick or a thin knife into the center of the loaf. If it comes out clean or with a few moist crum extractbs attached (not wet batter), your banana bread is ready. If it comes out with wet batter, continue baking for 5-10 minute intervals and check again.
7. Cooling for the Best Texture: Once baked, carefully remove the loaf pan from the oven. Let the banana bread cool in the pan on a wire rack for about 10-15 minutes. This allows the loaf to set slightly and makes it easier to remove from the pan without breaking. After this initial cooling period, carefully invert the pan onto the wire rack and lift out the loaf. Allow it to cool completely on the wire rack before slicing. Slicing warm banana bread can lead to a gummy texture, so patience is key here! Once fully cooled, you can slice it and enjoy the fruits of your labor. This banana bread is fantastic on its own, but it’s also delicious toasted with a smear of butter or cream cheese. Enjoy every delicious bite!
Conclusion:
There you have it – our best banana bread recipe! We believe this recipe truly stands out because it delivers that perfect balance of moistness, incredible banana flavor, and a hint of sweetness without being overpowering. The simple steps make it accessible for bakers of all levels, and the aroma that fills your kitchen as it bakes is simply irresistible. Whether you’re looking for a delightful breakfast treat, a satisfying afternoon snack, or a comforting dessert, this banana bread is sure to become a staple in your baking repertoire. Don’t hesitate to try it – you won’t be disappointed!
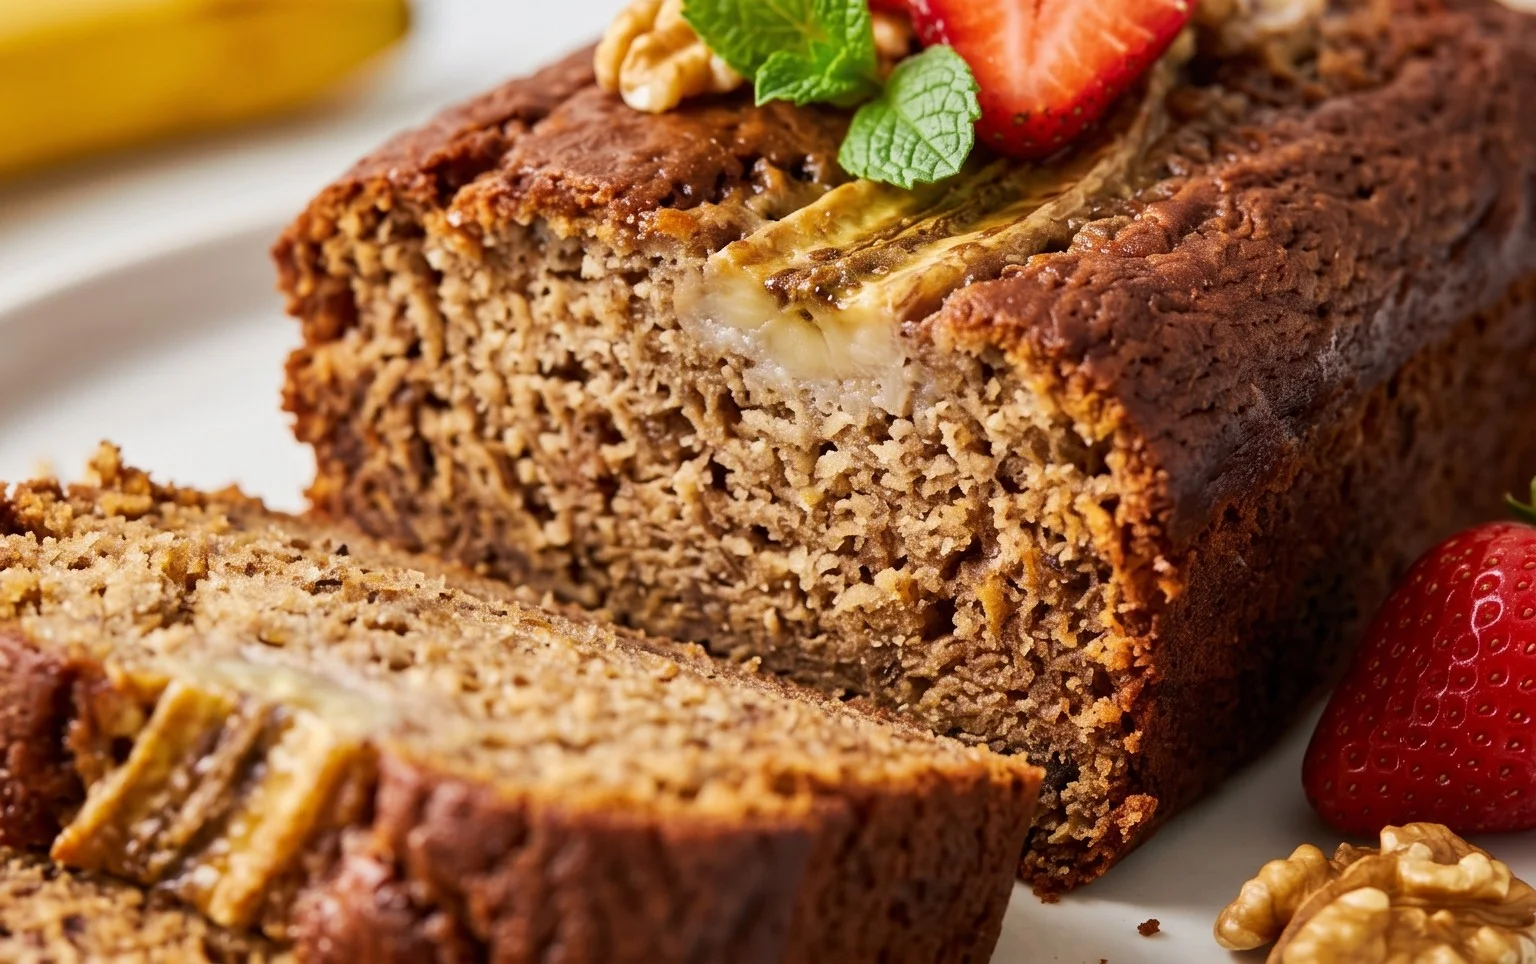
This versatile loaf is fantastic on its own, but it also shines when served with a smear of butter, a drizzle of honey, or even a dollop of cream cheese frosting for an extra decadent touch. For those who love to experiment, consider adding chocolate chips, chopped nuts like walnuts or pecans, or even a pinch of cinnamon for added warmth and complexity. We encourage you to gather those ripe bananas and get baking; the reward is a truly exceptional and comforting treat.
Frequently Asked Questions:
Q: My banana bread is a bit dry. What could I have done wrong?
A: Dry banana bread can often be due to overmixing the batter, which develops the gluten too much, or baking it for too long. Ensure you mix the wet and dry ingredients just until combined. Also, start checking for doneness a few minutes before the suggested time by inserting a toothpick into the center; it should come out with a few moist crum extractbs attached, not completely clean.
Q: Can I use frozen bananas for this recipe?
A: Absolutely! Frozen bananas are actually ideal for banana bread as they are very ripe and break down easily, contributing to a wonderfully moist texture and intense banana flavor. Just make sure to thaw them completely and drain any excess liquid before adding them to your batter.
Q: How long will this banana bread last?
A: Stored properly in an airtight container at room temperature, this banana bread will stay fresh for about 2-3 days. For longer storage, you can refrigerate it for up to a week, or freeze slices or the whole loaf for up to 3 months. Thaw frozen bread at room temperature.
Best Banana Bread Recipe
Moist and delicious banana bread, perfect for using up ripe bananas.
Ingredients
-
1/2 cup unsalted butter, at room temperature
-
1 cup granulated sugar
-
2 large eggs
-
2 cups all purpose flour
-
1 tsp baking soda
-
1/2 tsp salt
-
3 medium bananas, mashed
-
1 tsp vanilla extract
Instructions
-
Step 1
Preheat oven to 350°F (175°C). Grease and flour a 9×5 inch loaf pan. -
Step 2
In a large bowl, cream together the softened butter and sugar until light and fluffy. -
Step 3
Beat in the eggs one at a time, then stir in the vanilla extract. -
Step 4
In a separate bowl, whisk together the flour, baking soda, and salt. -
Step 5
Gradually add the dry ingredients to the wet ingredients, mixing until just combined. Do not overmix. -
Step 6
Gently fold in the mashed bananas. -
Step 7
Pour the batter into the prepared loaf pan and spread evenly. -
Step 8
Bake for 50-65 minutes, or until a wooden skewer inserted into the center comes out clean. -
Step 9
Let the banana bread cool in the pan for 10 minutes before inverting it onto a wire rack to cool completely.
Important Information
Nutrition Facts (Per Serving)
It is important to consider this information as approximate and not to use it as definitive health advice.
Allergy Information
Please check ingredients for potential allergens and consult a health professional if in doubt.