Best Fried Apple Pies Homemade – Irresistible Recipe
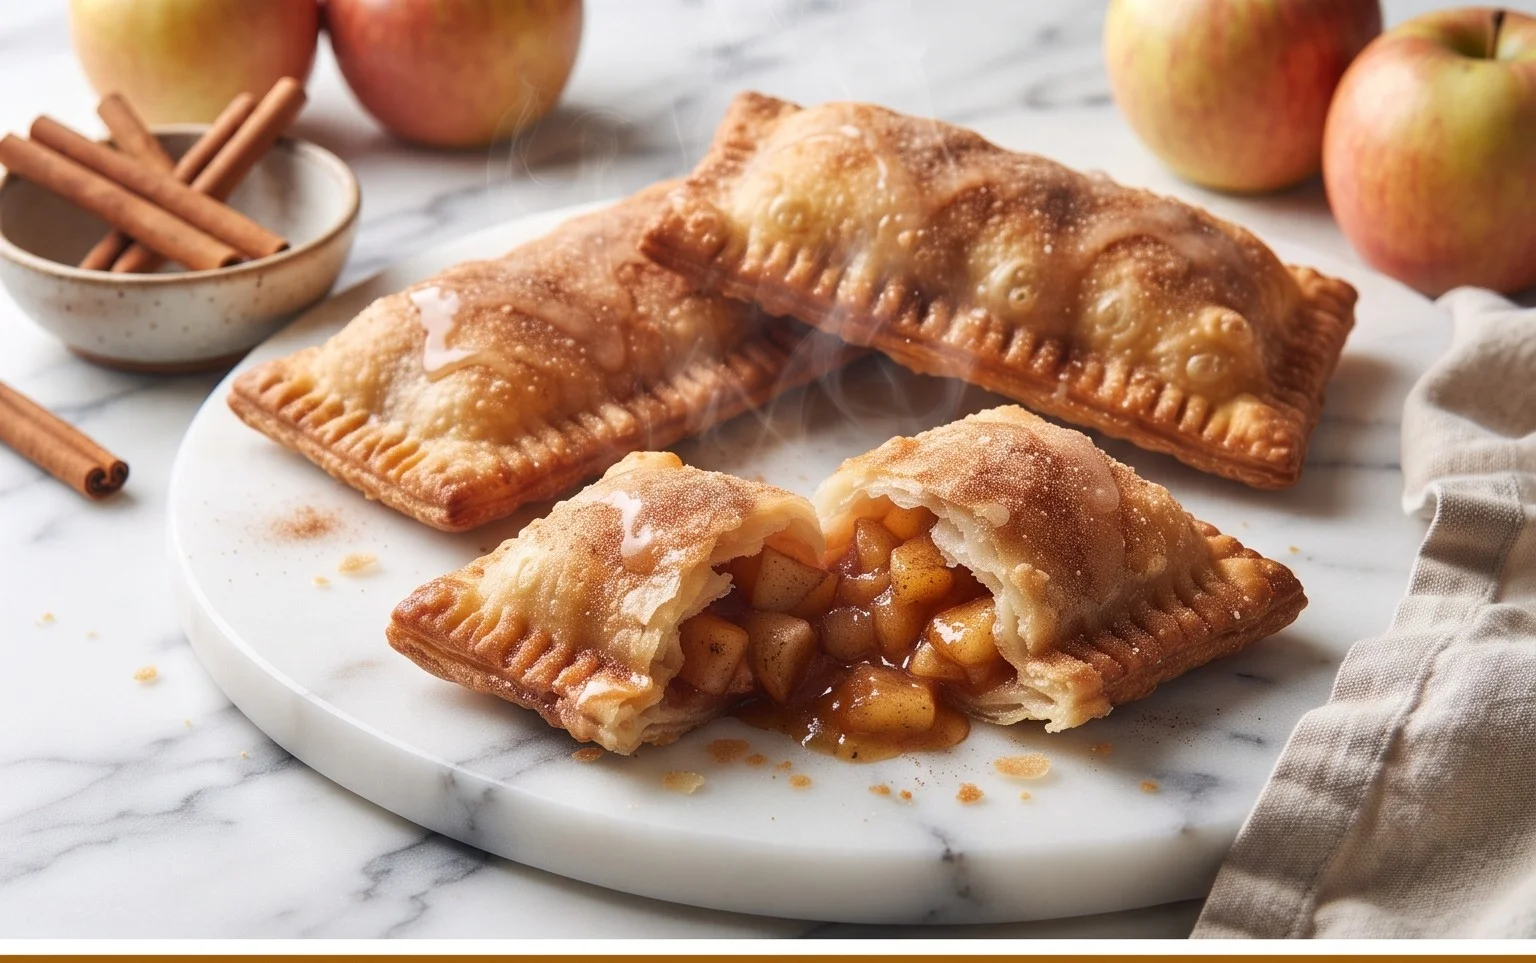
The Best Fried Apple Pies Recipe (Homemade) is a journey back to comfort food perfection. There’s something undeniably magical about a warm, golden-brown pastry pocket bursting with sweet, spiced apples. It’s a treat that evokes childhood memories, cozy autumn evenings, and the simple joy of a homemade dessert. What makes these fried apple pies so special? It’s the incredible contrast of textures – the shatteringly crisp, flaky crust giving way to a tender, melt-in-your-mouth apple filling, all kissed with a hint of cinnamon and sugar. Forget those store-bought imposters; this is the authentic, soul-satisfying experience you’ve been craving. I’ve perfected this recipe over years, and I’m thrilled to share with you exactly how to achieve that incredible flavor and perfect texture in your own kitchen. Get ready to impress yourself and everyone you share these with!
The Best Fried Apple Pies Recipe (Homemade)
There’s something undeniably comforting about a warm, homemade fried apple pie. The crisp, golden crust giving way to a sweet, spiced apple filling is a taste of nostalgia that never gets old. Forget those mass-produced versions; making them yourself is incredibly rewarding and, dare I say, even better! This recipe is my go-to for achieving that perfect balance of tender apples, flaky pastry, and that irresistible fried crunch. Get ready to fill your kitchen with the most amazing aroma!
Ingredients:
Preparing the Apple Filling
The heart of any great apple pie is its filling, and ours is no exception. We’re aiming for tender, slightly firm apple pieces bathed in a sweet, spiced syrup.
1. Combine the Apples and Spices: In a medium saucepan, combine your diced apples, brown sugar, cinnamon, and the 1 teaspoon of vanilla. Stir everything together gently to coat the apple pieces. The brown sugar will start to draw out moisture from the apples, which is exactly what we want.
2. Simmer and Thicken: Place the saucepan over medium heat. Let the apples simmer for about 5-7 minutes, stirring occasionally, until they begin extract to soften slightly. You don’t want them mushy, just tender. While the apples are simmering, in a small bowl, whisk together the apple cider (or juice) and cornstarch until the cornstarch is fully dissolved. This is our thickening agent.
3. Incorporate the Thickener: Once the apples have softened a bit and released some of their juices, pour the cornstarch mixture into the saucepan. Continue to stir constantly for another 1-2 minutes, or until the filling has thickened to a syrupy consistency. Remove the saucepan from the heat and set aside to cool completely. It’s crucial that the filling is cool before you assemble the pies, otherwise, it can make the pastry soggy.
Making the Pastry Dough
This pastry dough is designed to be tender and flaky, perfect for cradling our delicious apple filling. Using self-rising flour simplifies things, and the addition of egg yolks contributes to a richer texture.
1. Cut in the Butter: In a large bowl, combine the sifted self-rising flour and salt. Add the cubed, cold unsalted butter. Using a pastry blender, your fingertips, or two knives, cut the butter into the flour until the mixture resembles coarse crum extractbs with some pea-sized pieces of butter remaining. These pockets of butter are key to creating flaky layers.
2. Add the Wet Ingredients: In a separate small bowl, whisk together the 2 egg yolks and the 1/3 cup of HOT milk. The hot milk helps to hydrate the flour and activate the leavening agents in the self-rising flour. Gradually pour this mixture into the flour and butter mixture.
3. Form the Dough: Using a fork or your hands, gently mix until the dough just comes together. Be careful not to overmix, as this can develop the gluten and result in a tough pastry. The dough should be shaggy but hold together when squeezed. Turn the dough out onto a lightly floured surface and gently bring it together into a disc. Wrap it tightly in plastic wrap and refrigerate for at least 30 minutes to allow the gluten to relax and the butter to firm up. This chilling step is essential for easy handling and a flakier crust.
Assembling and Frying the Pies
Now for the exciting part – bringin extractg it all together and transforming our ingredients into golden, delicious fried pies!
1. Roll and Cut the Dough: Once chilled, lightly flour your work surface and your rolling pin. Roll out the dough to about 1/8-inch thickness. Using a 4-5 inch round cutter (or a bowl rim), cut out as many circles as you can. Gently re-roll the scraps once, being careful not to overwork the dough, and cut out more circles until you’ve used most of the dough.
2. Fill and Seal: Spoon about 1-2 tablespoons of the cooled apple filling onto one half of each dough circle, leaving a small border around the edge. Be careful not to overfill, as this can make sealing difficult and lead to leaks during frying. Lightly brush the edges of the dough with water (or a little of the remaining milk). Fold the other half of the dough over the filling to create a half-moon shape. Press the edges firmly together to seal, then crimp the edges with a fork to ensure a good seal and add a decorative touch.
3. Prepare for Frying: In a large, heavy-bottomed pot or Dutch oven, heat about 2-3 inches of vegetable or canola oil over medium-high heat until it reaches 350-365°F (175-185°C). A thermometer is your best friend here; too hot and the pies will burn before they cook through, too cool and they’ll be greasy. Carefully slide 2-3 pies into the hot oil, being careful not to overcrowd the pot.
4. Fry to Golden Perfection: Fry the pies for 2-3 minutes per side, or until they are a deep golden brown and puffed up. Use a slotted spoon or tongs to carefully turn them. Remove the fried pies from the oil and place them on a wire rack set over a baking sheet to drain any excess oil. This also helps them stay crispy.
5. Make the Glaze and Serve: While the pies are still warm, prepare the simple glaze. In a small bowl, whisk together the 1 Tablespoon of milk and the 1/2 cup of powdered sugar until smooth and drizzleable. If it’s too thick, add a tiny bit more milk; if it’s too thin, add a bit more powdered sugar. Drizzle the glaze over the warm fried apple pies. Serve them warm for the ultimate treat!
Enjoy the incredible taste of these homemade fried apple pies. They’re perfect for a dessert, a snack, or even a special breakfast treat!
Conclusion:
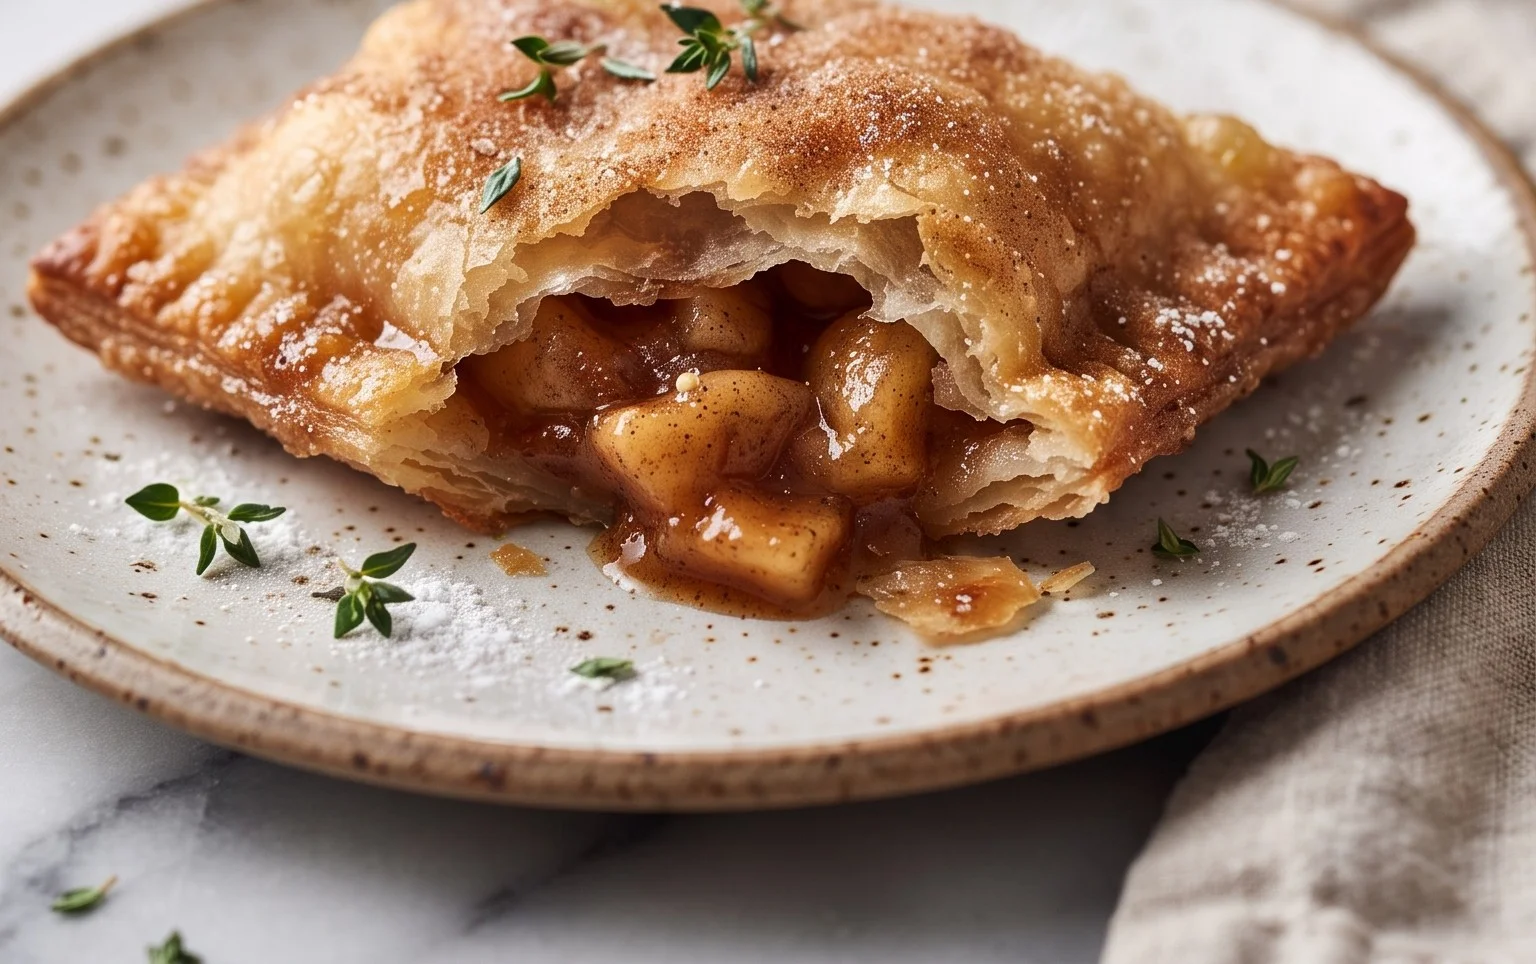
There you have it – the secrets to creating truly the best fried apple pies right in your own kitchen! This recipe is a winner because it balances a perfectly crisp, golden-brown crust with a warmly spiced, tender apple filling. It’s comfort food at its finest, evoking nostalgic memories with every bite. I truly believe this homemade fried apple pie recipe will become a staple in your baking repertoire.
Serve these delightful pies warm, dusted with a little powdered sugar or drizzled with caramel sauce. They’re fantastic on their own, but also pair beautifully with a scoop of vanilla ice cream or a dollop of whipped cream for an extra indulgent treat. For those looking to switch things up, consider adding a pinch of nutmeg to the filling for an extra layer of warmth, or perhaps a tablespoon of chopped pecans for a delightful crunch. Don’t be afraid to experiment and make this recipe your own!
I wholeheartedly encourage you to give this recipe a try. The effort is minimal, but the reward of biting into a freshly fried apple pie that you made yourself is absolutely immense. Happy baking!
Frequently Asked Questions:
Can I make the apple pie filling ahead of time?
Yes, you absolutely can! Prepare the apple filling and store it in an airtight container in the refrigerator for up to 2 days. When you’re ready to make your pies, simply drain any excess liquid and proceed with the recipe as instructed.
What kind of apples are best for fried apple pies?
For the best texture and flavor, I recommend using a combination of sweet and tart apples. Granny Smith apples provide a pleasant tartness and hold their shape well when cooked, while Honeycrisp or Fuji apples add sweetness and a softer texture. This blend creates a wonderfully balanced filling.
How do I prevent my fried apple pies from bursting during cooking?
To prevent bursting, ensure you seal the edges of your pies very well. You can use the tines of a fork to crimp the edges securely. Also, avoid overfilling the pies; this leaves less room for the filling to expand as it heats up and helps maintain the structural integrity of your delicious fried apple pies.
The Best Fried Apple Pies Recipe (Homemade)
Delicious homemade fried apple pies with a perfectly spiced apple filling and a flaky crust, all made from scratch.
Ingredients
-
2 large apples, peeled, cored, and diced (1 granny smith and 1 honeycrisp recommended)
-
1/4 cup brown sugar
-
1/2 teaspoon cinnamon
-
1 teaspoon vanilla
-
2 teaspoons apple cider
-
1 teaspoon cornstarch
-
2 cups self-rising flour, sifted
-
4 Tablespoons unsalted butter, cubed
-
2 egg yolks
-
1/3 cup HOT milk
-
1/4 teaspoon salt
-
1/2 teaspoon vanilla extract
-
1 Tablespoons milk
-
1/2 cup powdered sugar
-
Vegetable or canola oil, for frying
Instructions
-
Step 1
For the filling: Combine diced apples, brown sugar, cinnamon, vanilla, and apple cider in a saucepan. Cook over medium heat until apples are tender, about 8-10 minutes. Stir in cornstarch and cook for 1 minute more until thickened. Let cool completely. -
Step 2
For the crust: In a large bowl, combine sifted self-rising flour and salt. Cut in the cubed butter with a pastry blender or your fingertips until the mixture resembles coarse crumbs. -
Step 3
In a small bowl, whisk together egg yolks and 1/3 cup hot milk. Pour this mixture into the flour mixture and stir until a dough just comes together. Do not overmix. -
Step 4
Turn the dough out onto a lightly floured surface and knead a few times until smooth. Divide the dough into 6 equal portions. Roll each portion into a circle about 6 inches in diameter. -
Step 5
Spoon a portion of the cooled apple filling onto one half of each dough circle. Fold the other half over to create a semicircle and crimp the edges with a fork to seal. -
Step 6
Heat 1-2 inches of vegetable or canola oil in a large, heavy-bottomed skillet over medium-high heat to 350°F (175°C). Carefully place 1-2 pies into the hot oil and fry for 3-4 minutes per side, until golden brown and puffed. -
Step 7
Remove pies from the oil and drain on paper towels. For the glaze: whisk together 1 Tablespoon milk, 1/2 teaspoon vanilla extract, and 1/2 cup powdered sugar until smooth. Drizzle over the warm pies.
Important Information
Nutrition Facts (Per Serving)
It is important to consider this information as approximate and not to use it as definitive health advice.
Allergy Information
Please check ingredients for potential allergens and consult a health professional if in doubt.