Garlic Parmesan Cheeseburger Bombs – Easy Beef Bites
Garlic Parmesan Cheeseburger Bombs Recipe are the ultimate crowd-pleasing appetizer that will have everyone beggin extractg for mgin extract. Imagine all the savory, juicy goodness of a classic cheeseburger, but packed into perfectly bite-sized, irresistible morsels. What’s not to love? They’re easy to pop, bursting with flavor, and offer that satisfying cheesy pull that makes every bite a moment of pure joy. We all adore the comforting familiarity of a cheeseburger, and these little flavor grenades take that love and elevate it to a whole new level. The secret to these delightful Garlic Parmesan Cheeseburger Bombs lies in the harmonious blend of rich, savory ground beef, sharp cheddar cheese, and a generous infusion of fragrant garlic and nutty Parmesan. Each bomb is a testament to comfort food perfection, a delightful surprise waiting to explode with taste, making them ideal for game nights, parties, or simply a fun family dinner.

Ingredients:
- 1 lb Ground Beef (80/20 fat content recommended for juiciness)
- 1 cup Shredded Cheddar Cheese
- 2 tsp Garlic Powder (for the beef mixture)
- 1 tsp Salt (for the beef mixture)
- 1 tsp Black Pepper (for the beef mixture)
- 2 cans Refrigerated Biscuit Dough (each can contains 8 biscuits)
- 2 tbsp Butter, melted
- ½ cup Grated Parmesan Cheese
- 1 tsp Garlic Powder (for the topping)
Preparation of the Cheeseburger Filling
- Start by preparing the flavorful filling for our Cheeseburger Bombs. In a medium mixing bowl, combine the 1 lb of ground beef. For the best results, I recommend using an 80/20 fat content beef, as the extra fat renders during cooking and keeps the bombs incredibly juicy. Add the 2 teaspoons of garlic powder, 1 teaspoon of salt, and 1 teaspoon of black pepper directly to the ground beef. Using your hands, gently mix all the seasonings into the meat until just combined. Be careful not to overmix, as this can lead to tough burgers. Once the seasonings are evenly distributed, divide the beef mixture into 16 equal portions. You can do this by eye or by weighing each portion if you want perfect uniformity. Roll each portion into a small ball.
- Next, we’ll incorporate the cheesy goodness. Take each of the 16 beef balls and flatten them slightly in your palm. Place about 1 tablespoon of the shredded cheddar cheese onto the center of each flattened beef ball. Now, carefully wrap the beef around the cheese, sealing it completely to form a new, larger ball with the cheese enclosed within. Make sure there are no gaps where the cheese can escape during baking. This step is crucial for creating those molten cheese pockets we all love in a cheeseburger. Set these cheese-filled beef balls aside while you prepare the biscuit dough.
Assembling the Cheeseburger Bombs
- Now it’s time to encase our delicious filling in a fluffy biscuit. Open one can of the refrigerated biscuit dough. You’ll find 8 biscuits in each can. Gently separate the biscuits. Take one biscuit and flatten it into a disc, about 3-4 inches in diameter. Don’t worry if it’s not perfectly round; rustic charm is part of the appeal! Place one of the cheese-filled beef balls onto the center of the flattened biscuit. Carefully bring the edges of the biscuit dough up and around the beef ball, pinching them together securely at the top to completely seal the beef and cheese inside. Ensure there are no holes or openings. Repeat this process with the remaining 15 biscuits and beef balls. You should end up with 16 fully enclosed Cheeseburger Bombs.
- Prepare your baking sheet and preheat your oven. Line a baking sheet with parchment paper or a silicone baking mat to prevent sticking and for easy cleanup. Arrange the assembled Cheeseburger Bombs on the prepared baking sheet, leaving about an inch of space between each one. They will expand as they bake. Preheat your oven to 375 degrees Fahrenheit (190 degrees Celsius). This moderate temperature is perfect for ensuring the biscuits cook through and turn golden brown without burning, while also allowing the beef inside to cook to a safe internal temperature.
Baking and Finishing Touches
- Bake the Cheeseburger Bombs until they are golden brown and puffed up. Place the baking sheet in the preheated oven and bake for approximately 18-22 minutes. Keep an eye on them, as oven temperatures can vary. You’re looking for the biscuits to be a rich golden-brown color on top and on the bottom, and to feel firm to the touch. The internal temperature of the beef should reach 160 degrees Fahrenheit (71 degrees Celsius) for safety. Once baked, carefully remove the baking sheet from the oven.
- While the bombs are still hot from the oven, it’s time for the irresistible garlic parmesan topping. In a small bowl, whisk together the 2 tablespoons of melted butter, the ½ cup of grated parmesan cheese, and the remaining 1 teaspoon of garlic powder. This creates a fragrant and savory glaze. Using a pastry brush, generously brush this garlic parmesan butter mixture all over the tops and sides of the hot Cheeseburger Bombs. The heat from the bombs will help the butter melt and distribute evenly, and the parmesan cheese will create a delightful, slightly crispy crust. Allow the Cheeseburger Bombs to cool slightly on the baking sheet for about 5 minutes before serving. This allows the cheese inside to set up just a bit, preventing it from oozing out too much when you bite into them.
Conclusion:
There you have it – the ultimate guide to creating these irresistible Garlic Parmesan Cheeseburger Bombs Recipe! We’ve walked through each step to ensure your culinary adventure is a resounding success. These little flavor explosions are perfect for any occasion, from casual game nights and backyard barbecues to impressive appetizers for your next gathering. Their savory, cheesy, and garlicky goodness is guaranteed to be a crowd-pleaser.
For serving, I love to present these Garlic Parmesan Cheeseburger Bombs Recipe warm, perhaps with a side of your favorite dipping sauce like ranch, a spicy ketchup, or even a homemade aioli. They also make a fantastic addition to a burger bar, served alongside actual cheeseburgers, offering a fun and bite-sized twist. Don’t be afraid to experiment with variations! You could add a pinch of smoked paprika for a smoky undertone, or finely chopped jalapeños for a hint of heat.
I truly hope you enjoy making and sharing these Garlic Parmesan Cheeseburger Bombs Recipe as much as I do. The simple combination of ingredients results in something truly special. So go ahead, get in the kitchen, and let the deliciousness begin extract!
Frequently Asked Questions:
Q1: Can I make the Garlic Parmesan Cheeseburger Bombs Recipe ahead of time?
Yes, you absolutely can! You can prepare the mixture and form the bombs a day in advance. Store them, unbaked, in an airtight container in the refrigerator. When you’re ready to bake, you may need to add a minute or two to the baking time since they will be cold.
Q2: What kind of ground beef is best for the Garlic Parmesan Cheeseburger Bombs Recipe?
A ground beef with an 80/20 lean-to-fat ratio is ideal for these Garlic Parmesan Cheeseburger Bombs Recipe. The fat content is crucial for both flavor and ensuring the bombs remain moist and tender after baking. Too lean and they might turn out dry.
Garlic Parmesan Cheeseburger Bombs – Easy Beef Bites
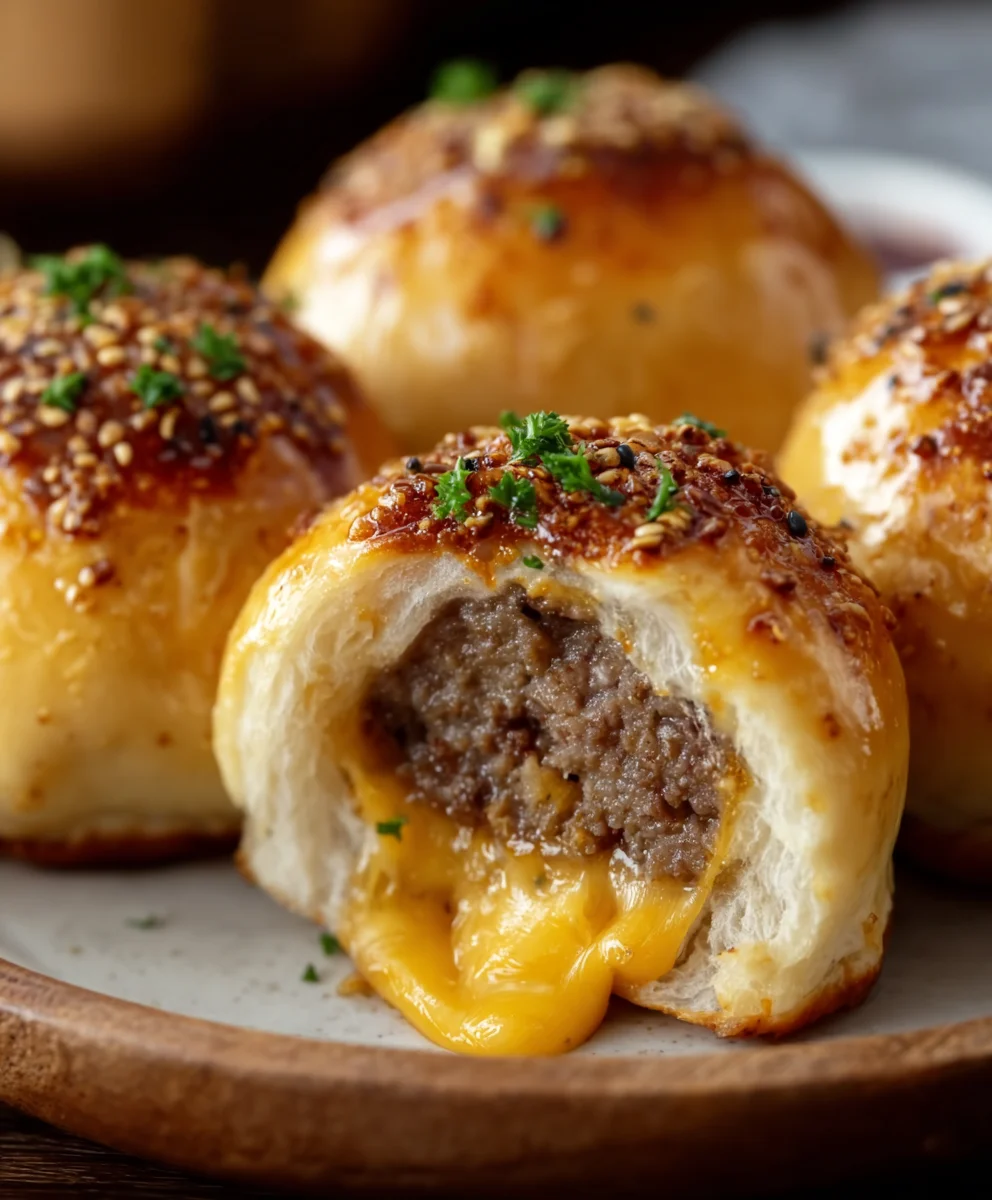
These easy Garlic Parmesan Cheeseburger Bombs are a flavorful and fun appetizer or meal, featuring juicy beef and molten cheddar cheese encased in a fluffy biscuit, topped with a savory garlic parmesan butter.
Ingredients
-
1 lb Ground Beef (80/20 fat content recommended)
-
1 cup Shredded Cheddar Cheese
-
2 tsp Garlic Powder
-
1 tsp Salt
-
1 tsp Black Pepper
-
2 cans Refrigerated Biscuit Dough (each can contains 8 biscuits)
-
2 tbsp Butter, melted
-
½ cup Grated Parmesan Cheese
-
1 tsp Garlic Powder
Instructions
-
Step 1
In a medium mixing bowl, combine the 1 lb of ground beef, 2 teaspoons of garlic powder, 1 teaspoon of salt, and 1 teaspoon of black pepper. Mix gently until just combined. Divide the beef mixture into 16 equal portions and roll each into a small ball. -
Step 2
Flatten each beef ball slightly. Place about 1 tablespoon of shredded cheddar cheese onto the center of each flattened beef ball. Carefully wrap the beef around the cheese, sealing it completely to form a new, larger ball with the cheese enclosed. -
Step 3
Open one can of refrigerated biscuit dough and separate the 8 biscuits. Gently flatten one biscuit into a disc. Place one cheese-filled beef ball onto the center of the flattened biscuit. Bring the edges of the biscuit dough up and pinch them together securely at the top to completely seal the beef and cheese inside. Repeat with remaining biscuits and beef balls. -
Step 4
Line a baking sheet with parchment paper. Arrange the assembled Cheeseburger Bombs on the baking sheet, leaving about an inch of space between each one. Preheat your oven to 375 degrees Fahrenheit (190 degrees Celsius). -
Step 5
Bake for approximately 18-22 minutes, or until the biscuits are golden brown and puffed up, and the internal temperature of the beef reaches 160 degrees Fahrenheit (71 degrees Celsius). -
Step 6
While the bombs are hot, whisk together the 2 tablespoons of melted butter, ½ cup of grated parmesan cheese, and the remaining 1 teaspoon of garlic powder. Brush this mixture generously all over the tops and sides of the hot Cheeseburger Bombs. Allow to cool slightly for about 5 minutes before serving.
Important Information
Nutrition Facts (Per Serving)
It is important to consider this information as approximate and not to use it as definitive health advice.
Allergy Information
Please check ingredients for potential allergens and consult a health professional if in doubt.